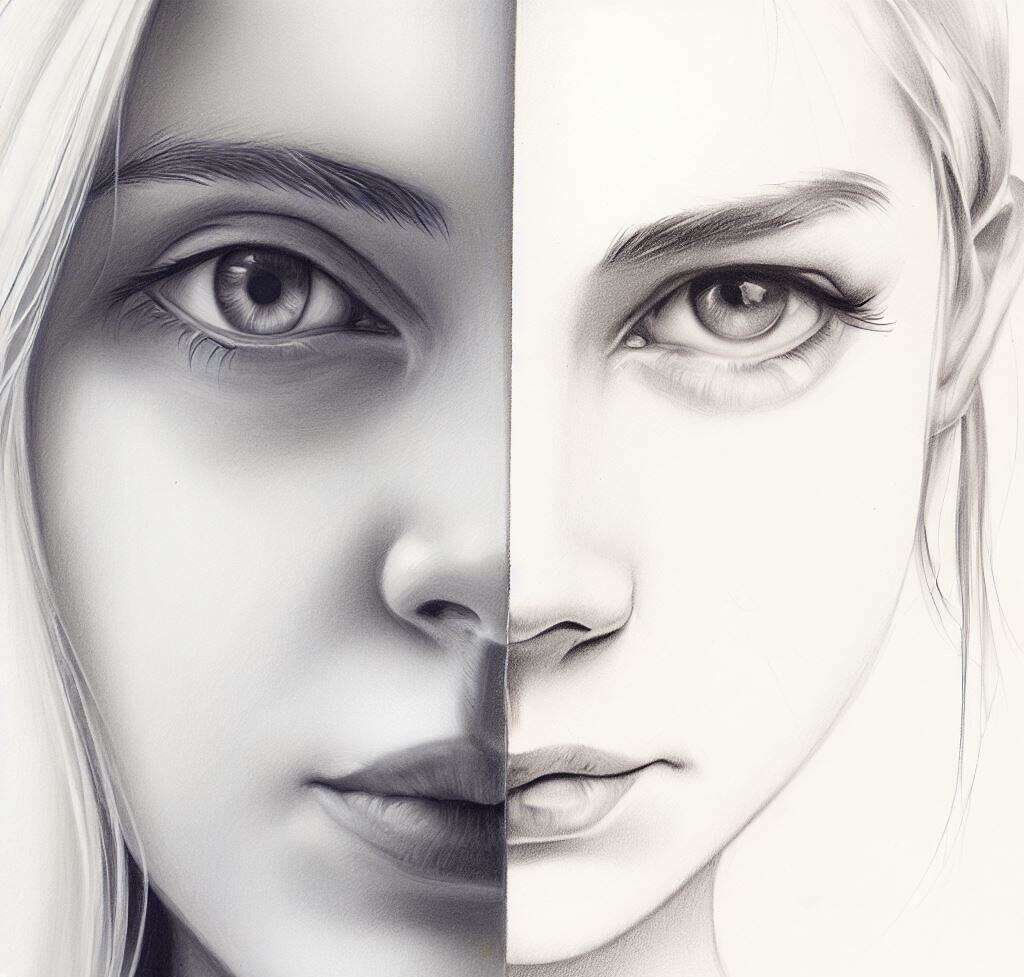
How to draw realistic faces for beginners?
Dive into the world of art as we guide you through mastering the skill to draw realistic faces. Drawing realistic faces can be a daunting task, especially for beginners.
However, with a few key techniques and a lot of practice, anyone can improve their drawing skills and create realistic and beautiful portraits.
In this article, we will explore the steps and techniques to draw realistic faces.
Table of Contents
Step 1: Understanding the Anatomy of the Face
The first step in drawing a realistic face is to understand the basic anatomy of the face.
The face is made up of various shapes and features, including the eyes, nose, mouth, ears, and hair.
It is important to study these features in detail and understand how they work together to create a realistic representation of a person’s face.
Step 2: Sketching the Basic Shapes
The next step is to start with the basic shapes of the face. The face can be broken down into various geometric shapes, such as circles, triangles, and rectangles.
Start by drawing a circle for the head, and then add lines to mark the center of the face and the placement of the features.
Use light and loose lines for this initial sketch.
Step 3: Adding Details to the Features
Once the basic shapes are in place, start adding details to the features of the face. Begin with the eyes, which are often considered the most important feature of the face.
Draw the eyes using basic shapes, such as ovals and circles, and add the details, such as the iris and pupil. Next, add the nose, mouth, and ears.
Remember to use light and loose lines, and to constantly refer back to the basic shapes to ensure accuracy.
Step 4: Shading and Highlighting
Once the details are in place, start shading and highlighting the face to create depth and dimension.
Use a range of tones, from light to dark, to create shadows and highlights on the face.
Remember to use reference photos and observe how light falls on the face to ensure accurate shading.
Step 5: Adding Texture and Detail
Finally, add texture and detail to the face, such as wrinkles, freckles, and hair.
Use fine lines and dots to create texture, and use a variety of pencil strokes to create different textures, such as the smoothness of skin and the roughness of hair.
Let your creativity flourish as you refine your skills in portraying the subtleties of expression through texture.
Explore the interplay of light and shadow, using shading to accentuate contours and emphasize the natural details that make each face unique.
Freckles become distinctive constellations, wrinkles tell stories, and hair takes on a tactile quality that invites touch.
Experiment with different pencil grades to achieve varying degrees of softness or hardness, creating a symphony of textures within your artwork.
Remember, patience and practice are your allies in this artistic journey.
With each stroke, you inch closer to achieving a level of realism that breathes life into your creations.
Embrace the joy of adding texture and detail to your faces, as it transforms your art from a mere drawing into a captivating, emotive masterpiece.
Tips for Drawing Realistic Faces:
- Use reference photos to observe and study the features and anatomy of the face.
- Start with light and loose lines, and gradually add more detail as you go.
- Practice shading and highlighting to create depth and dimension.
- Use a variety of pencil strokes to create different textures and details.
- Don’t be afraid to make mistakes. Drawing is a skill that takes time and practice to develop.

Drawing realistic faces takes time and practice, but with these techniques and tips, anyone can improve their skills and create beautiful and realistic portraits.
Remember to be patient and keep practicing, and you will soon be creating stunning portraits in no time.


Comments