Comprehensive Guide to Taking Screenshots on Windows, macOS, and Chrome OS
The method to take a screenshot on a laptop depends on the operating system you are using. Here are the instructions for the most common ones.
Table of Contents
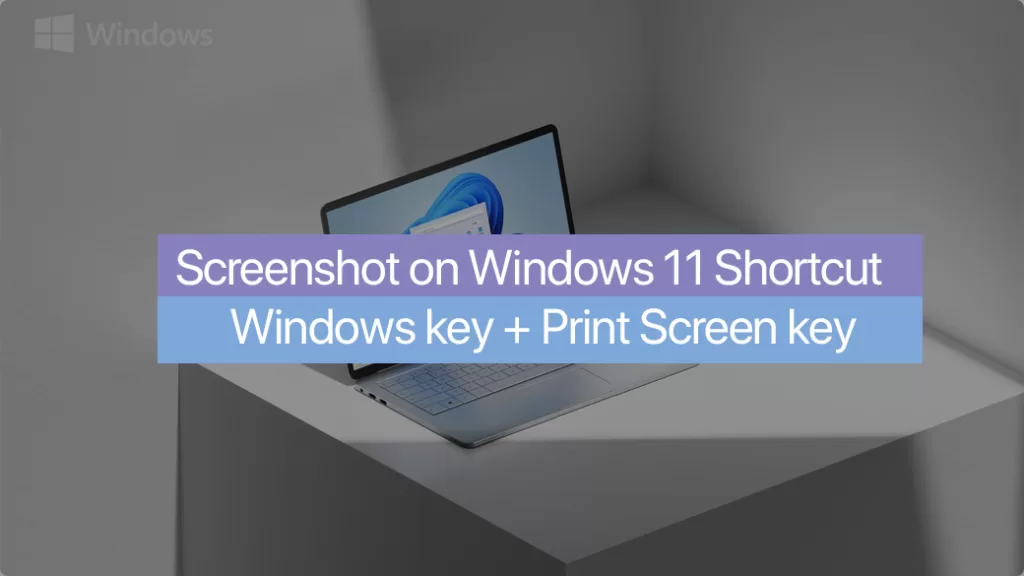
1. How to take screenshot on Windows?
- Print Screen Method: Press the “Print Screen” (sometimes labeled as PrtScn) key on your keyboard. This will capture an image of your entire screen and copy it to the clipboard. From there, you can paste it into any program that can accept images, such as Paint or Microsoft Word, by pressing Ctrl+V.
- Snipping Tool Method: Open the Snipping Tool, which is a utility included in Windows Vista, 7, 8, 8.1, and 10. Select the type of snip you want, and then select the area of the screen capture. You can then save it as a file.
- Snip & Sketch Tool: Windows 10 / 11 introduced a newer utility called “Snip & Sketch.” To open this tool, press the Windows key + Shift + S. Your screen will dim, and you can select an area of your screen to capture. The snip is then copied to your clipboard and can be pasted anywhere.

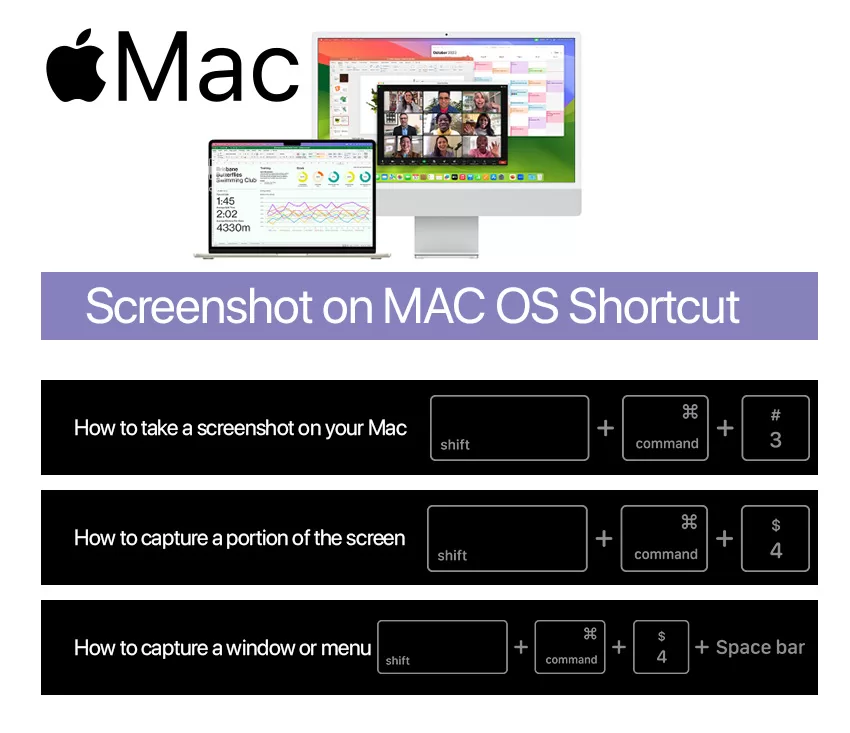
2. How to take screenshot on MacOS?
- Entire Screen: Press Shift + Command (⌘) + 3. The screenshot will be automatically saved to your desktop.
- Part of the Screen: Press Shift + Command (⌘) + 4, then drag the crosshair to select the area you wish to capture. Release your mouse or trackpad button to capture that selected area. The screenshot will be automatically saved to your desktop.
- Specific Window or Menu: Press Shift + Command (⌘) + 4, press the Spacebar, move the camera cursor over the window or menu to highlight it, and then click your mouse or trackpad. The screenshot will be automatically saved to your desktop.

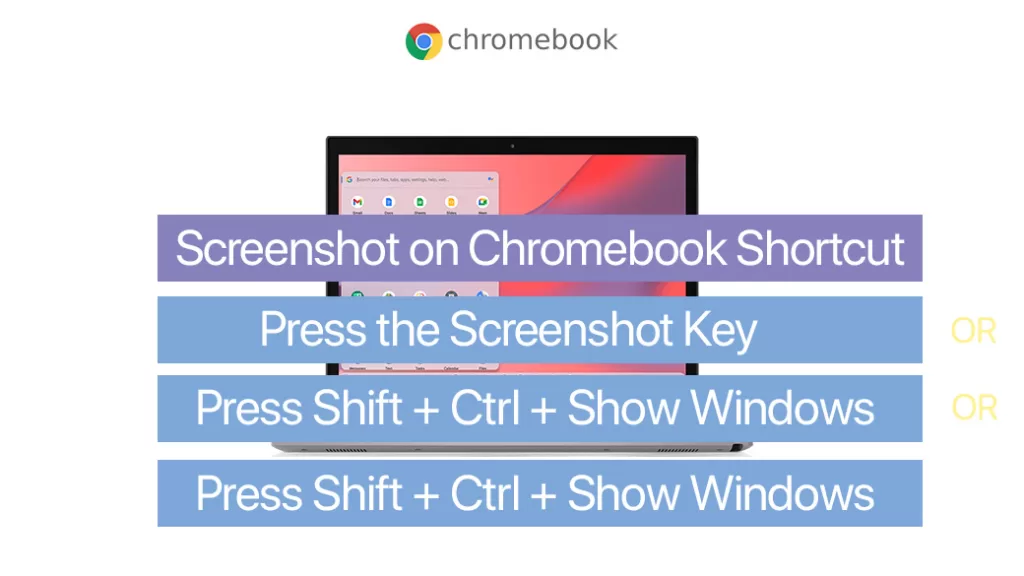
3. How to take screenshot Chrome OS (Google Chromebooks)?
- Entire Screen: Press the Ctrl key + the “Window Switcher” key. The “Window Switcher” key is usually located above the 6 key and has an image of a rectangle followed by two lines. The screenshot will be automatically saved to the “Downloads” folder.
- Part of the Screen: Press the Ctrl key + Shift + the “Window Switcher” key, then click and drag the cursor to select the area you wish to capture. Release the mouse or trackpad button to capture that area. The screenshot will be automatically saved to the “Downloads” folder.

Remember to respect copyright and privacy laws when taking and using screenshots.
Frequently Asked Questions (FAQs):
1. How can I take a screenshot of a specific region on Windows?
- Use the Snipping Tool or Snip & Sketch Tool on Windows. Open the Snipping Tool and choose the type of snip you want or press Windows key + Shift + S to use Snip & Sketch, then select the desired area.
2. Can I customize the screenshot save location on Windows or macOS?
- On Windows, you can paste the screenshot into an application and save it wherever you want. On macOS, screenshots are, by default, saved to the desktop, but you can change the save location using Terminal commands or third-party applications.
3. How do I take a screenshot of a specific window on macOS?
- Press Shift + Command (⌘) + 4, then press the Spacebar. Move the camera cursor over the window you want to capture and click your mouse or trackpad. The screenshot will be saved to your desktop.
4. Is there a shortcut to capture the entire screen on macOS?
- Yes, press Shift + Command (⌘) + 3 to capture the entire screen on macOS, and the screenshot will be automatically saved to your desktop.
5. Can I annotate or edit screenshots on Windows, macOS, or Chrome OS?
- Yes, you can use built-in tools or third-party applications to annotate and edit screenshots. For example, on Windows, you can use Paint or Snip & Sketch; on macOS, you can use the Preview app; and on Chrome OS, you can use various image editing apps from the Chrome Web Store.
6. How do I take a screenshot on a Chromebook with an external keyboard?
- Use the Ctrl key + the “Overview” key, which is the key with a square icon located above the 6 key. To capture a specific region, use Ctrl + Shift + Overview, then click and drag to select the area.
7. Are there any other third-party tools for taking screenshots on these operating systems?
- Yes, there are various third-party tools available for all three operating systems that offer additional features and customization options. Some popular ones include Snagit, Greenshot, and Lightshot.
8. Can I capture screenshots in incognito or private mode on Chrome OS?
- Yes, you can take screenshots in incognito or private mode on Chrome OS using the same keyboard shortcuts. However, be mindful of privacy and avoid capturing sensitive information.
Remember to check and comply with the terms of service and privacy policies of any third-party tools you choose to use for taking screenshots.


Comments